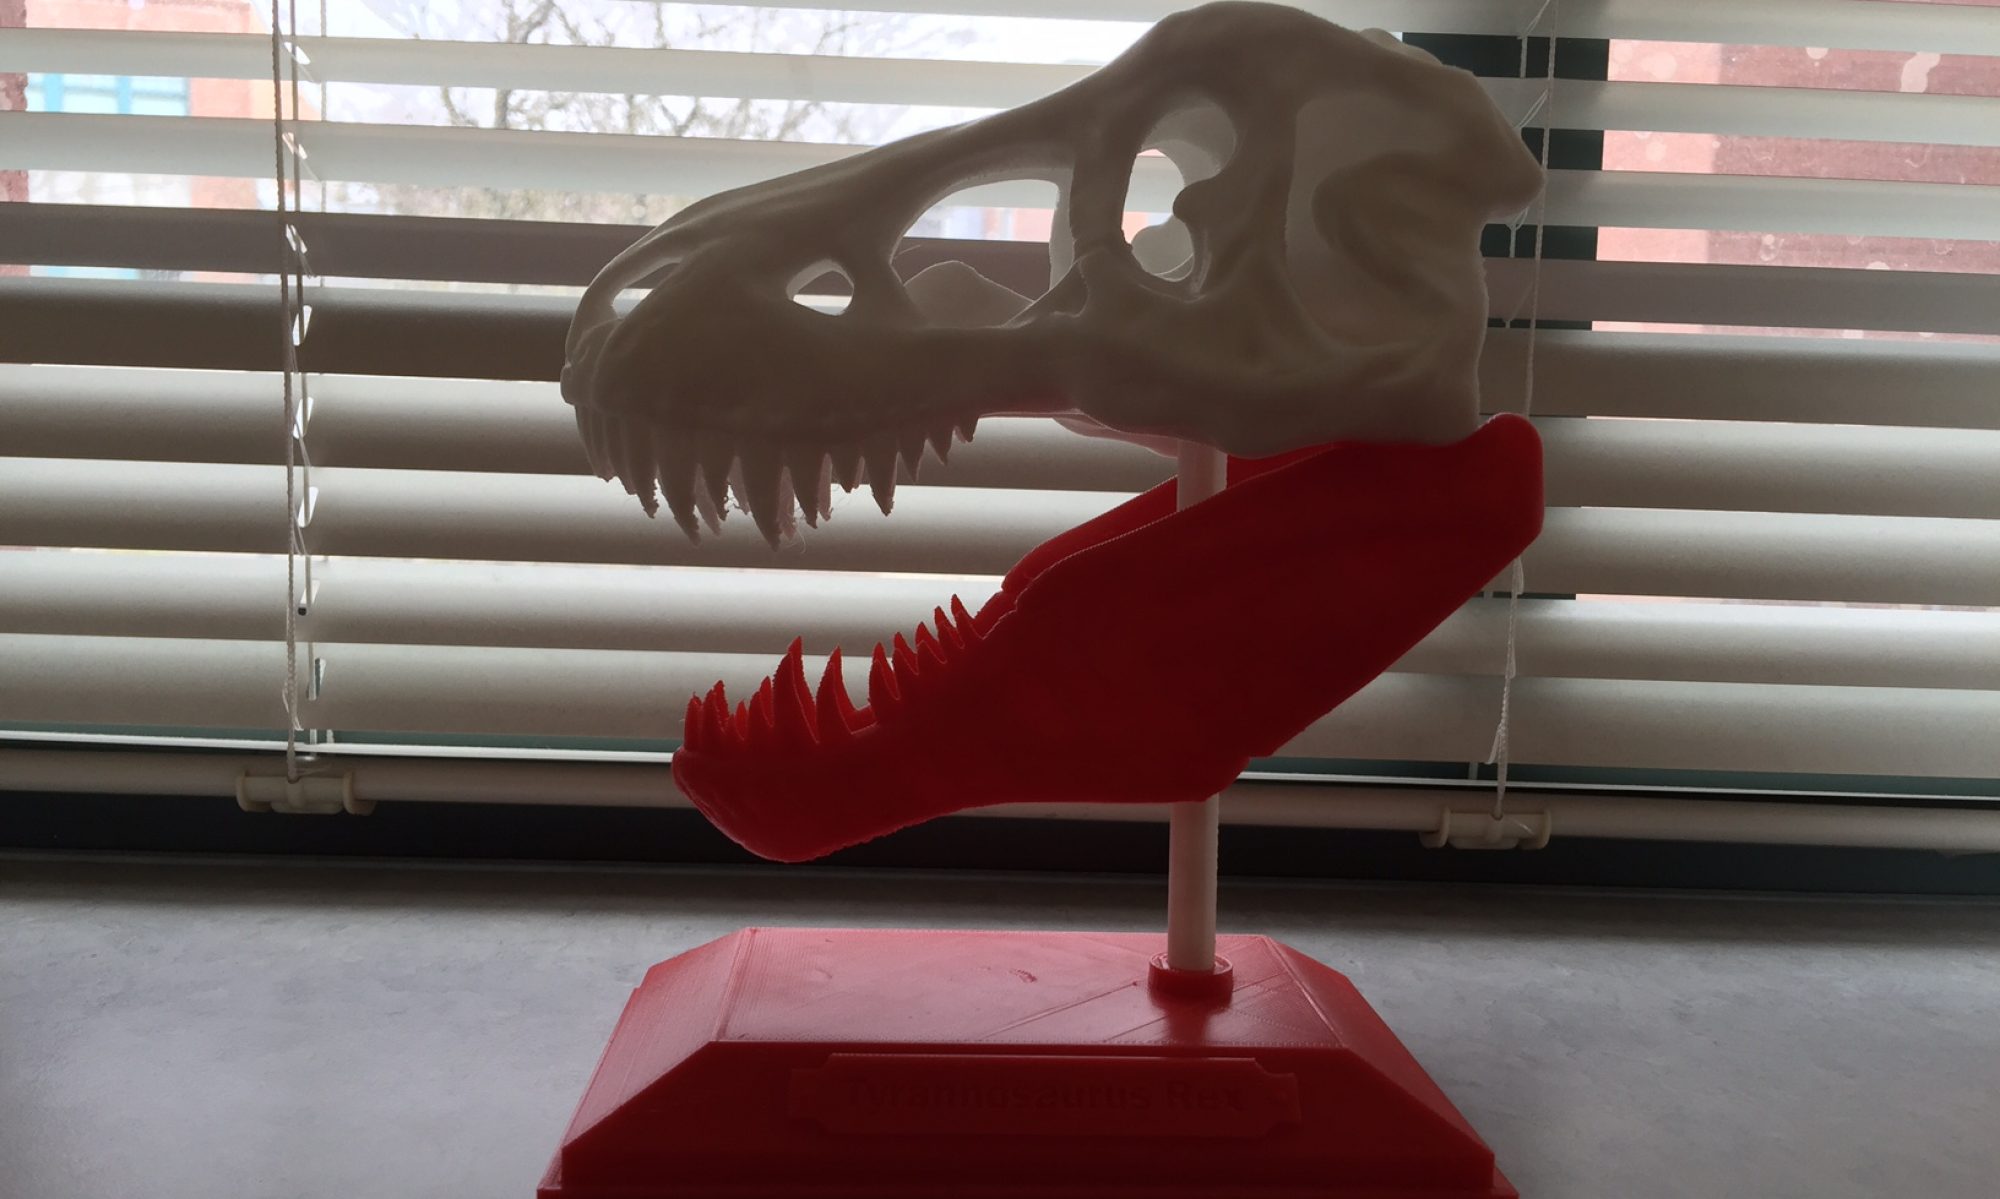
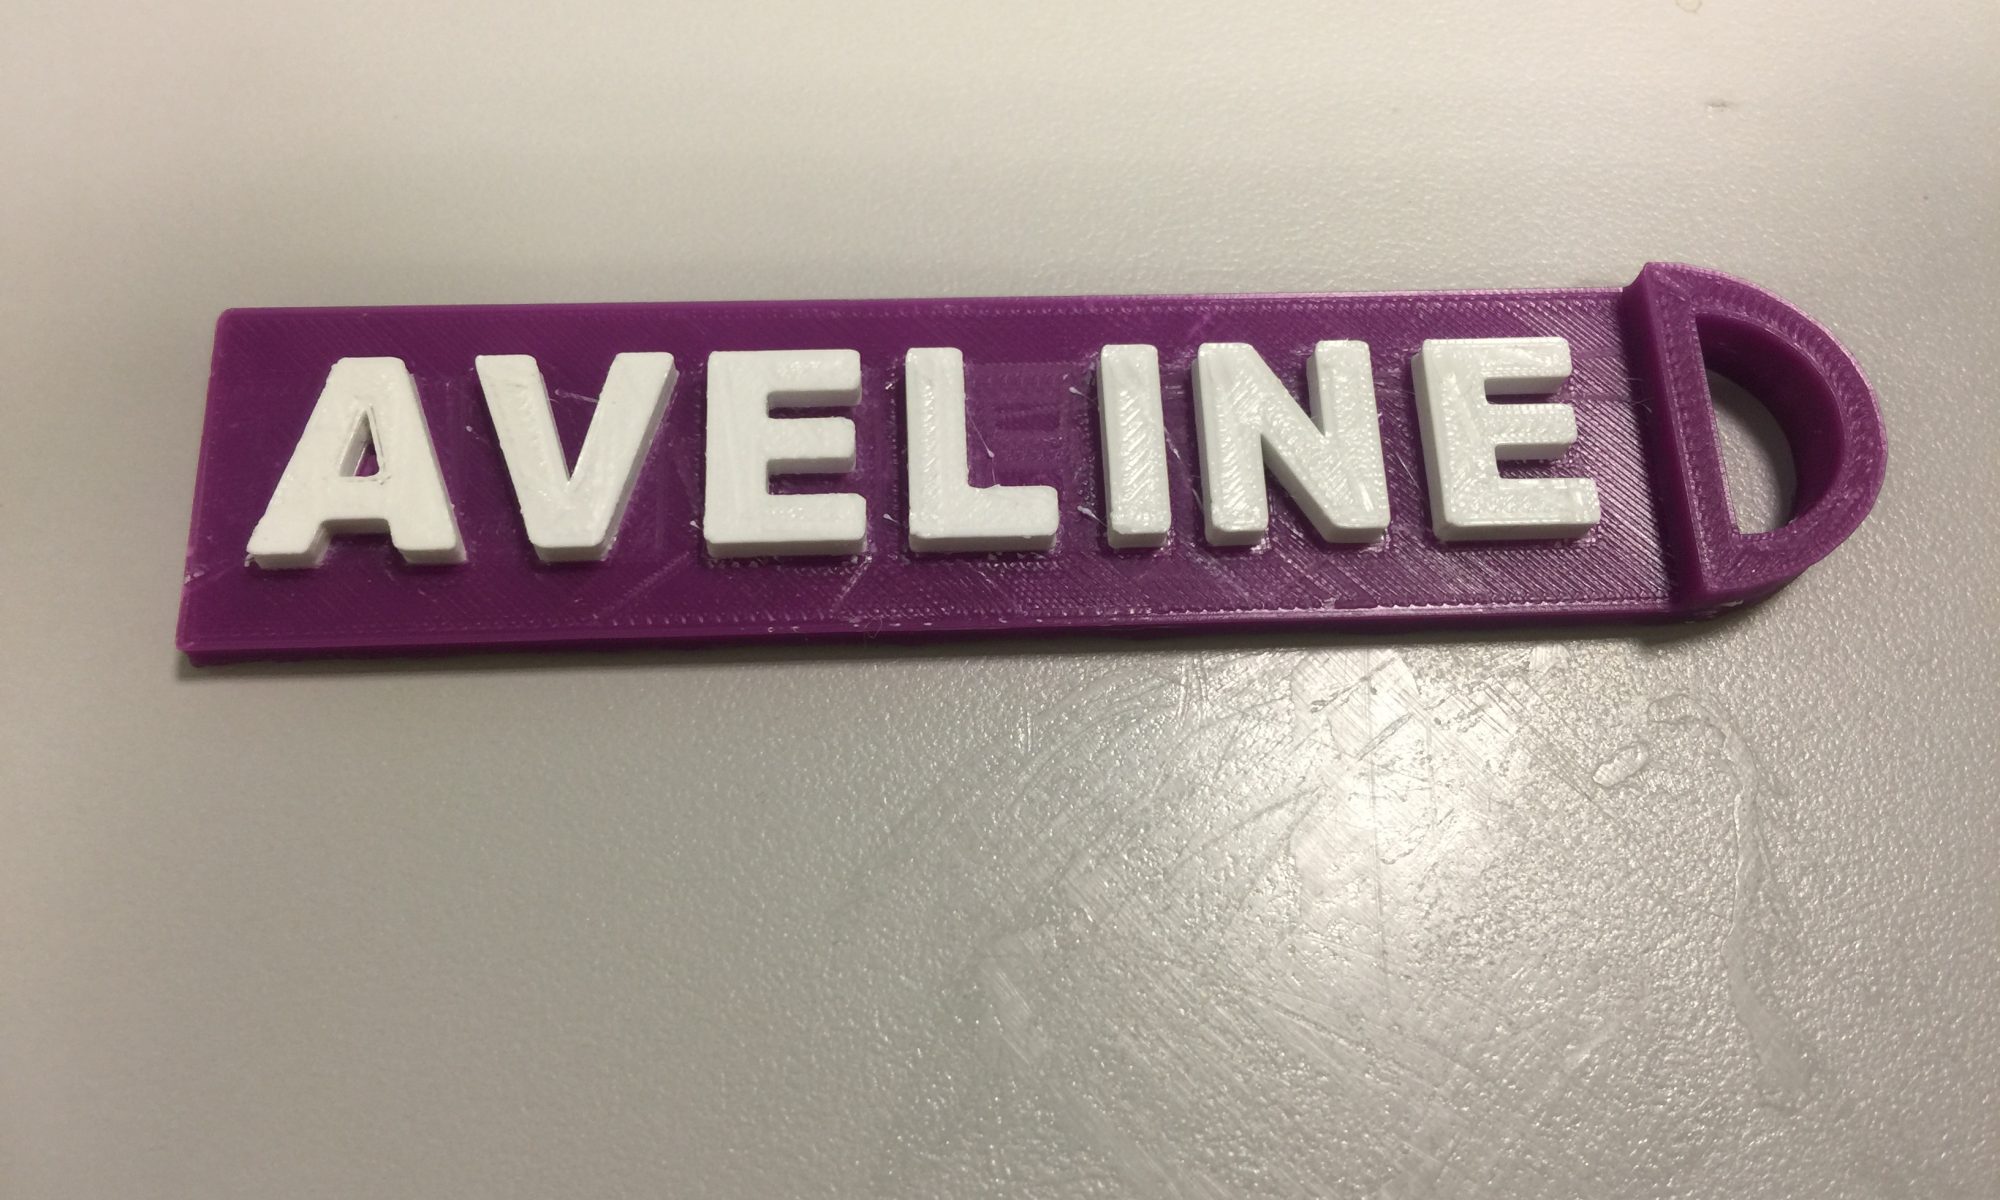
On Wednesday I taught a simple class on 3D printing and design to the Library and TLC staff. In that class I taught the attendees how to create a custom keychain using tinkercad.com. That custom keychain is two colors and features my daughter’s name, Aveline, which is an unusual name and perfect for showing people the power of 3D printing: that we can design unique or unusual pieces which we can’t simply buy off the shelf at WalMart. The design also shows off the power of the Library printer because I can print it as a dual-extrusion object.
Here are some photos¹ of the designs.
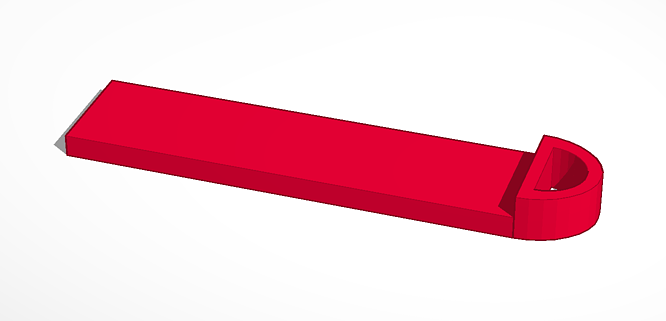
First, the keychain itself:
Next the letters which would fit on the keychain bed.
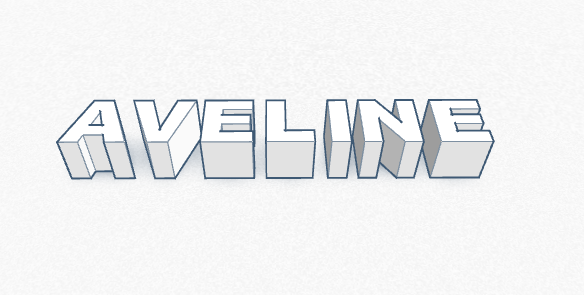
When creating a dual-extrusion object we actually need to create two .STL files and then combine them on the Makerbot software platform. This allows me to select a different nozzle for each object and thus a different color for each component. I then put the two files on top of each other and create a single object which the Makerbot software will know to use two different colors to print.
The first print didn’t meet my expectations.
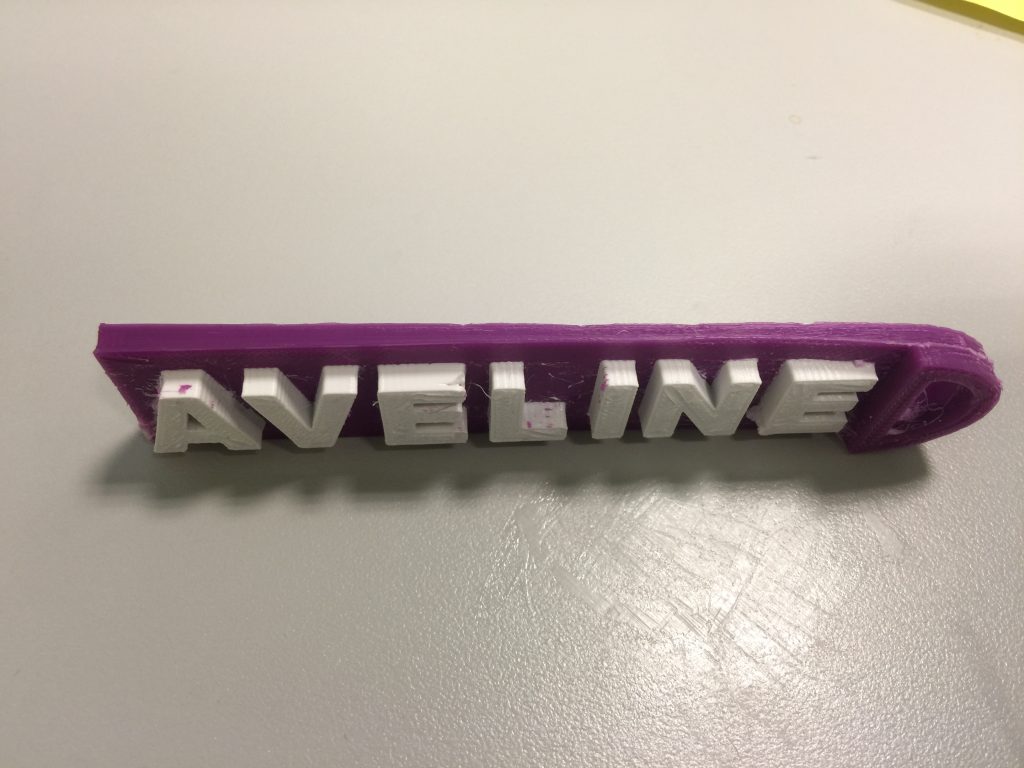
First, the edges “lifted” and curled. This happens when the plastic (we actually don’t use plastic, we use a bio-polyester called Polylactic Acid) is heated and then cools more rapidly on the edges. The PLA “shrinks” and causes bowing in the flat design.
The second flaw was that the white and purple didn’t purge properly between layers. 3D printers are additive printers: each object is built from a series of horizontal slices. The problem is that the printer was still dripping white when it went to make a purple part of the slice and purple when it went to make a white slice. Thus you get white filament mixed in with purple.
Think of it like building a bunch of burgers: you have bottom bun, burger, lettuce, and tomato. Now, imagine you have a ketsup and mustard bottle dangling over your series of burgers. You want to get ketsup on the gross people’s burgers and mustard on the regular people’s burgers. If your machine doesn’t purge the ketsup off, you could get little drips of ketsup on the mustard burgers. And no one would be happy. That’s what happened here.
To fix these problems I slowed printing down from 30mm/s to 10mm/s, lowered the filament heating temp to 200C and lowered the bed temp to 60C. I also added “purge walls” which are places that the nozzle can offload filament between colors.
This fixed the problems. Higher temps are needed to print at higher speeds so that the liquid PLA can flow properly but since it’s so hot the filament often continues to flow after it’s told to shut off, by lowering the temps and slowing the job down, plus adding purge walls, I was able to achieve a fairly clean result.
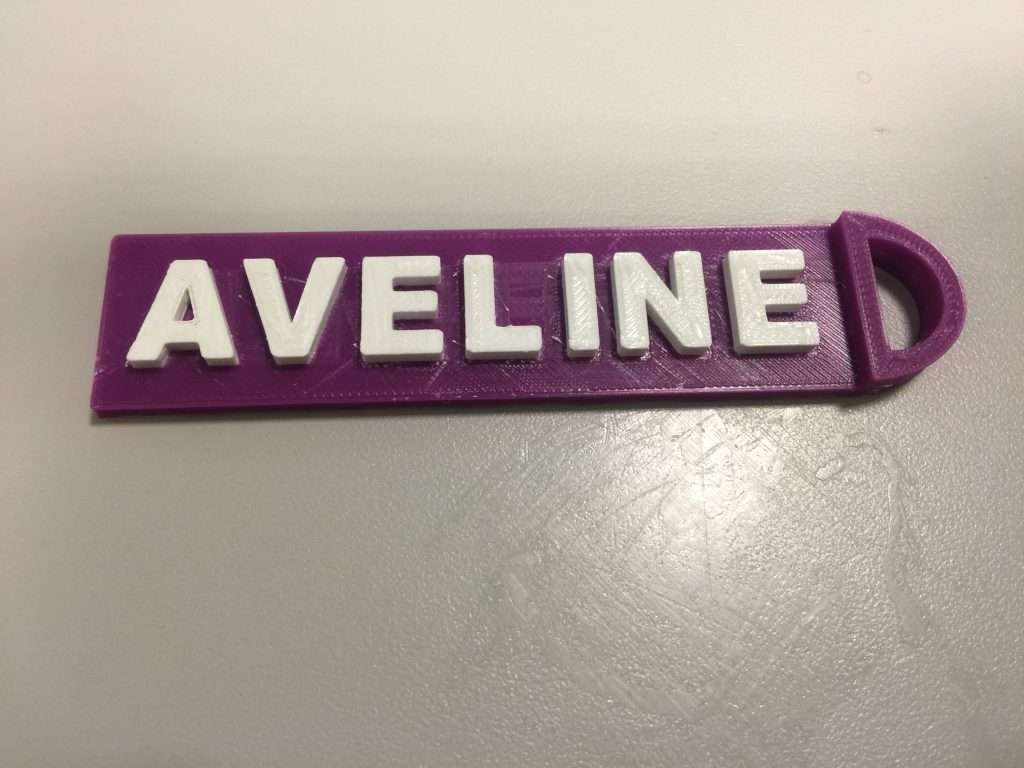
Astute observers will note that there are still some strange lines on the flat parts of the design. Those aren’t design elements but rather “ghosts” from the second nozzle: as the one nozzle lays down a layer of filament, the other nozzle next to it is literally dragging through the design. This is a problem with this machine and a major reason why some people just take the second nozzle off.
¹In order to improve accessibility for screen readers I will try to include alt text descriptions of my objects such as in this case: This is a flat, red, plastic keychain fob, 100mm long, 25mm wide, and 10mm tall, with an oval opening on one end and a flat area to take a name. I will gladly accept any advice on how to make this more accessible.