Graphics - Manipulating Pictures
When you have pictures to add to a web site, you need to make sure that they are the correct format, that they are not too big, or that they focus on what you want the user to see. This tutorial will look at cropping, resizing, and adjusting the brightness and contrast of existing photos.
It seems like extra work to size your pictures first before putting them in your web pages, but the pictures will look better and will load faster if you do so. Some web editors will allow you to insert a picture in the web page and then resize it to the size you want. In this case, the original picture will load and the web page will display it at the size you want. If the picture is large, it will load the ENTIRE large picture before displaying it at the size you want. Making the picture smaller in this case does not save any loading time.
This tutorial will look at two different programs: Microsoft Photo Editor and IrfanView. Microsoft Photo Editor came free with Microsoft Office 97, 2000 and XP. It wasn't included with Office 2003. But it may be on your computer. It is on the UWT computers. IrfanView is a free graphic editor program that does every thing MS Photo Editor does. You also may have a photo editing program that came with a digital camera you bought. Most of the programs do the basic things, and some have some very nice bells and whistles.
Microsoft Photo Editor
For these examples we will use a photo called sunrise.jpg that is on Blackboard in the Resources section. Right click on it and download it to your computer. Start MS Photo Editor and open the picture (sunrise.jpg). You should see the following:
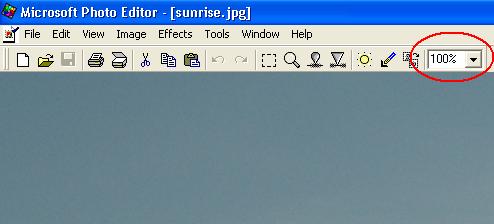
The picture is so huge, you can only see the smallest portion of the upper left side. To see a smaller version of the picture, use the zoom drop down menu circled in red above. Choose 25% to see the whole picture.

This will shrink the picture so you can see the whole thing.