Section 2 Getting started
2.1 Administrative access
It will be necessary to install several software packages. So if you do not have administrative privilege on your computer, you will need to get your system administrator to install the software listed below.
2.2 Install necessary software
We will need to have various software packages installed in order to proceed:
- R (use a mirror that is close to you)
- RStudio
- PostgreSQL
- PostGIS
- QGIS (either the OSGeo4W or the stand-alone version will work)
The PostGIS Spatial extension can be installed as part of the PostgreSQL installation (stack builder).
2.3 Install necessary R packages
The most important packages We will be using for the SQL work are DBI (R Database Interface) , which is automatically loaded with RPostgreSQL (R Interface to the ‘PostgreSQL’ Database System) and RSQLite (‘SQLite’ Interface for R) , and sqldf (Manipulate R Data Frames Using SQL) . To install these and others that we will be using, enter at the R console prompt (or copy-and-paste) the following code. It is recommended to install these using the R console rather than RStudio if you get warnings about needing to reload R.
install.packages(
    c("RPostgreSQL",
    "RSQLite",
    "sqldf",
    "sf",
    "kableExtra",
    "dplyr",
    "tidyr",
    "knitr",
    "ggplot2",
    "readstata13",
    "DT",
    "rgdal",
    "captioner")
)
This should only need to be done once on any user R installation.
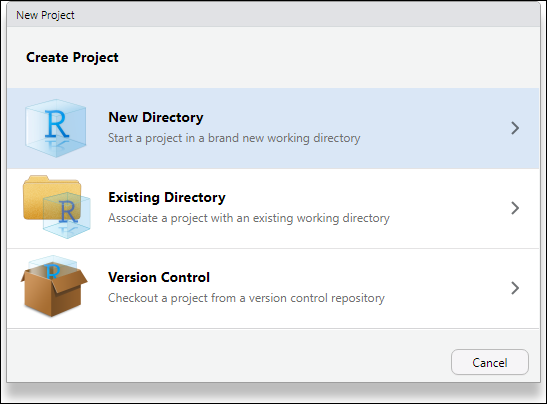
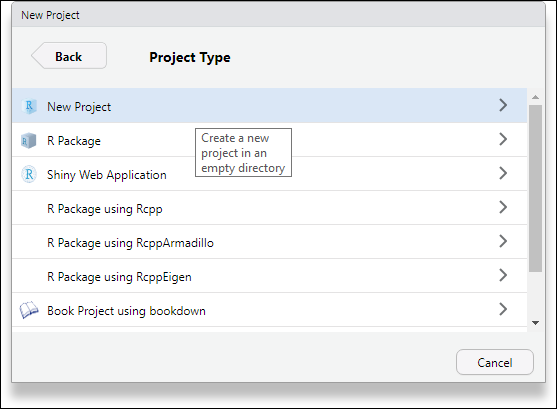
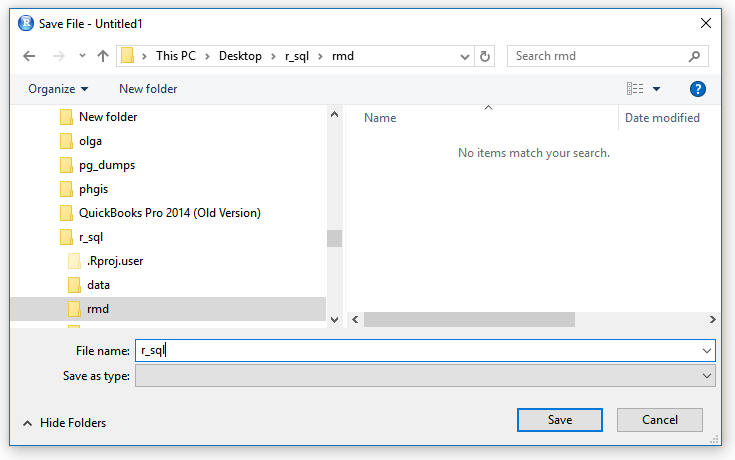
2.4 Create an RStudio project
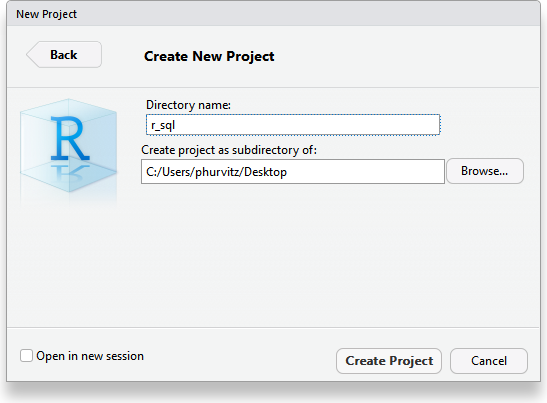
Create a new RStudio project in a New Directory on your desktop named r_sql (File > New Project).

Name the new folder r_sql.
2.4.1 Create a few folders
Use the Files pane and create three new folders names scripts, data, and rmd. These will be used to store various files in an organized fashion.
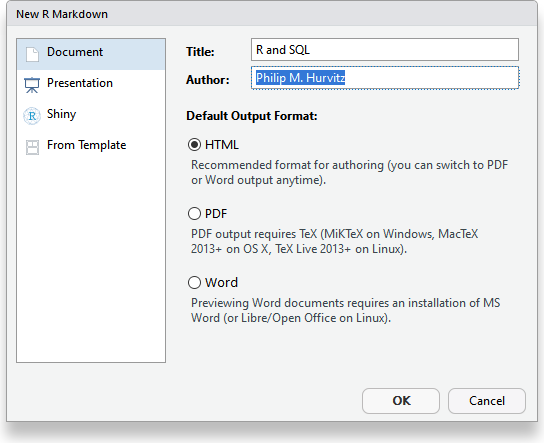
2.4.2 Create an R Markdown file
[TL;DR: The complete Rmd file can be downloaded: r_sql.Rmd]
Create a new R script (File > New File > R Markdown...)
Delete the content after line 3.
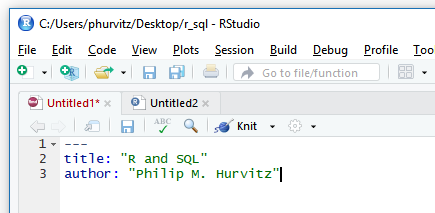
Copy the following code and add after line 3:
# <start rmd_add_01.txt>
date: '`r format(Sys.time(), "%Y-%m-%d %H:%M")`'
header-includes: #allows you to add in your own Latex packages
- \usepackage{float} #use the 'float' package
- \floatplacement{figure}{H} #make every figure with caption = h
output:
    html_document:
        number_sections: true
        self_contained: true
        code_folding: show
        toc: true
        toc_float:
            collapsed: true
            smooth_scroll: false
    pdf_document:
        number_sections: true
        toc: true
        fig_cap: yes
        keep_tex: yes
urlcolor: blue
---

<!-- for a wide presentation -->
<style type="text/css">
.main-container {
  max-width: 2400px !important;
  margin-left: auto;
  margin-right: auto;
}
hr.new4 {
  border: 2px solid black;
}
</style>


[R andSQL databases](http://staff.washington.edu/phurvitz/r_sql){target="_blank"}

<hr class="new4">

```{r setup, message=FALSE, warning=FALSE}
# key packages
library(RPostgreSQL)
library(RSQLite)
library(sqldf)
library(sf)
library(kableExtra)
library(dplyr)
library(tidyr)
library(knitr)
library(ggplot2)
library(readstata13)
library(DT)
library(rgdal)

# captions
library(captioner)
table_nums <- captioner(prefix = "Table")
figure_nums <- captioner(prefix = "Figure")

knitr::opts_chunk$set(warning = FALSE, message = FALSE, error = TRUE)

# db connection script
source("../scripts/dbconnect.R")

# establish the connection
rsql <- connectdb(dbname = "rsql", username = "csde")
```

<hr class="new4">
<!--<end rmd_add_01.txt>-->
And save it as r_sql.Rmd in your rmd folder.
This is the file that will store the code for this workshop.
Continue adding to the file as we progress, by copying code chunks from this book to your Rmd file.